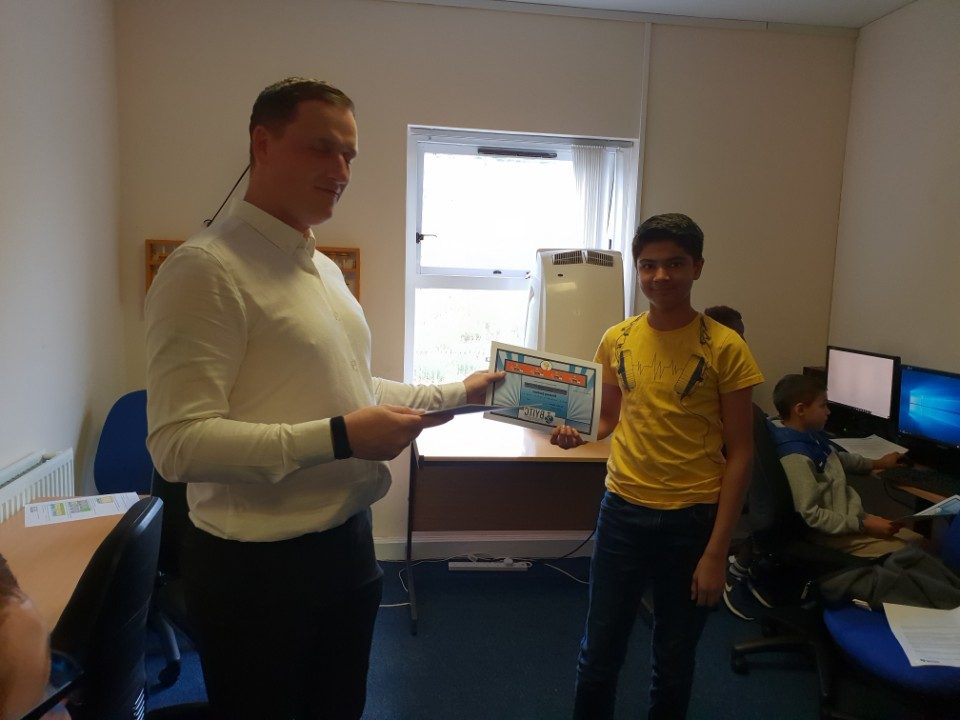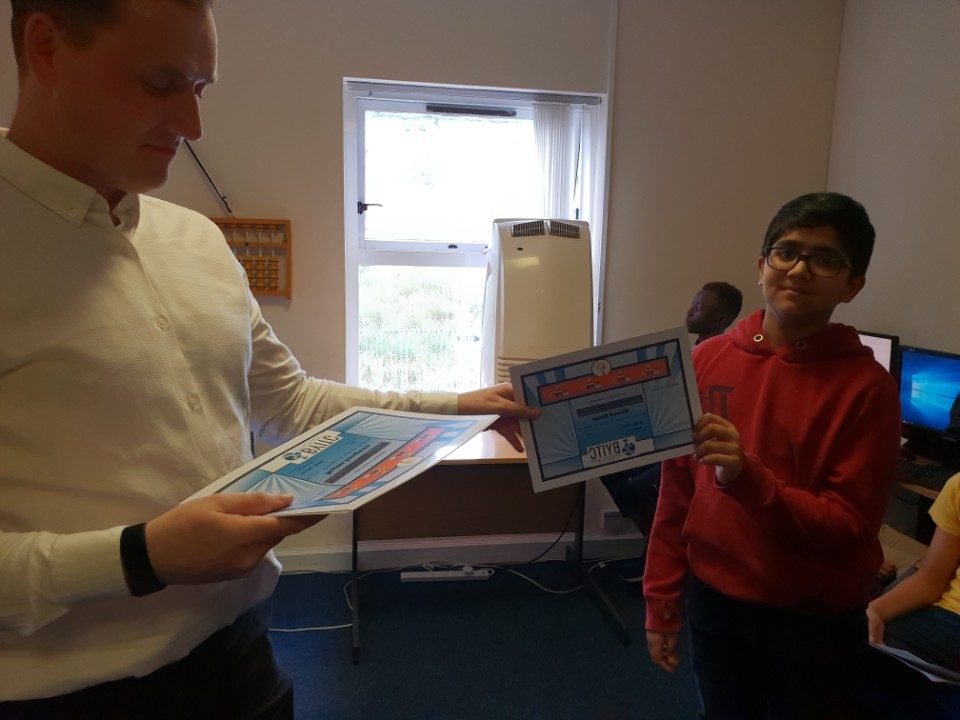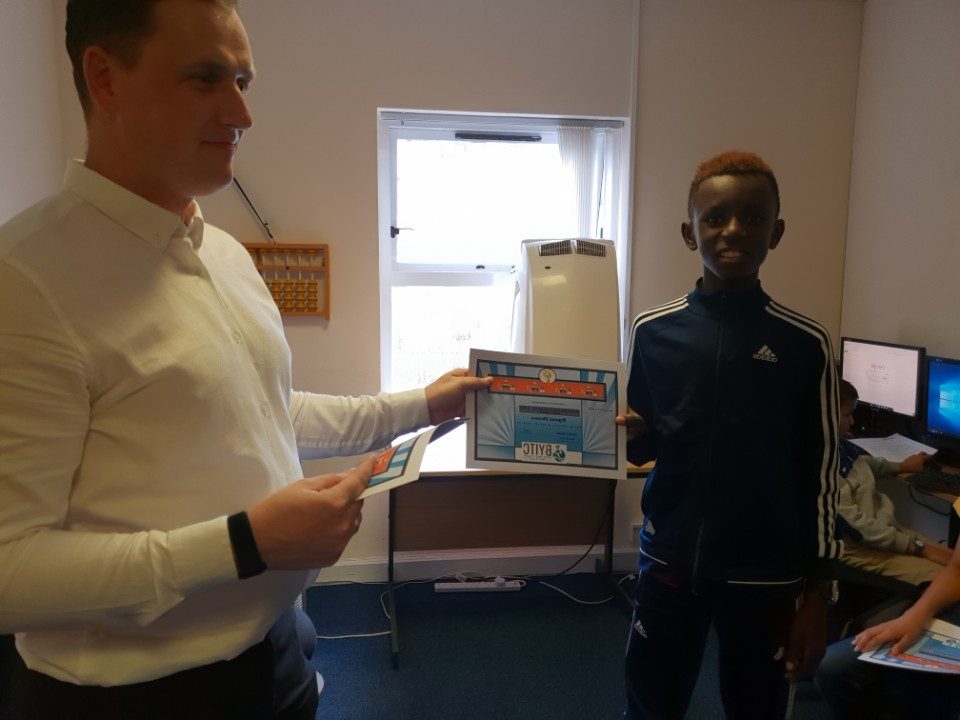

Build Your Own PC Classes Glasgow – Summer 2018
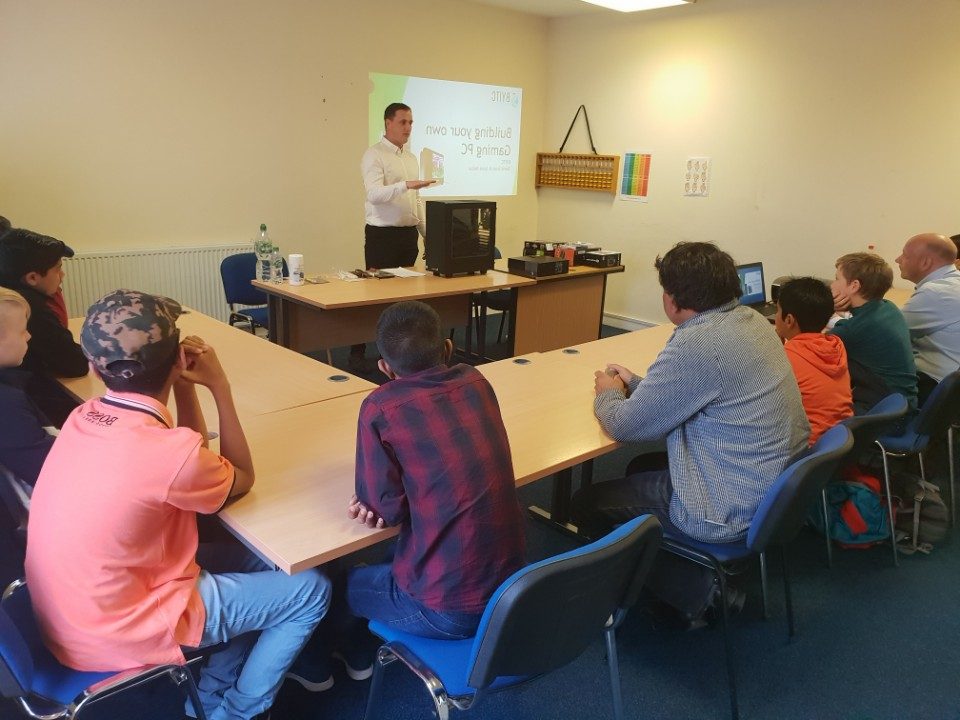
The British Youth International College was proud to offer a crash course on how to build your own PC.
In 2018, while having a full-scale desktop computer has become almost obsolete due to the prevalence of mobile phones and laptops, the gaming PC market has never been stronger with the largest graphics card maker, NVIDIA, reporting record sales in 2017. Factor in the cheapness of actually buying games on PC compared to console and the popularity of Free-To-Play games like Fortnite and League of Legends, you begin to see why this market is thriving so much.
So with that in mind, the question to be asked is this: what is actually involved in building my own PC?
Our class covered this and more so settle in and let’s go over what was taught at BYITC’s Build a PC class in UK.
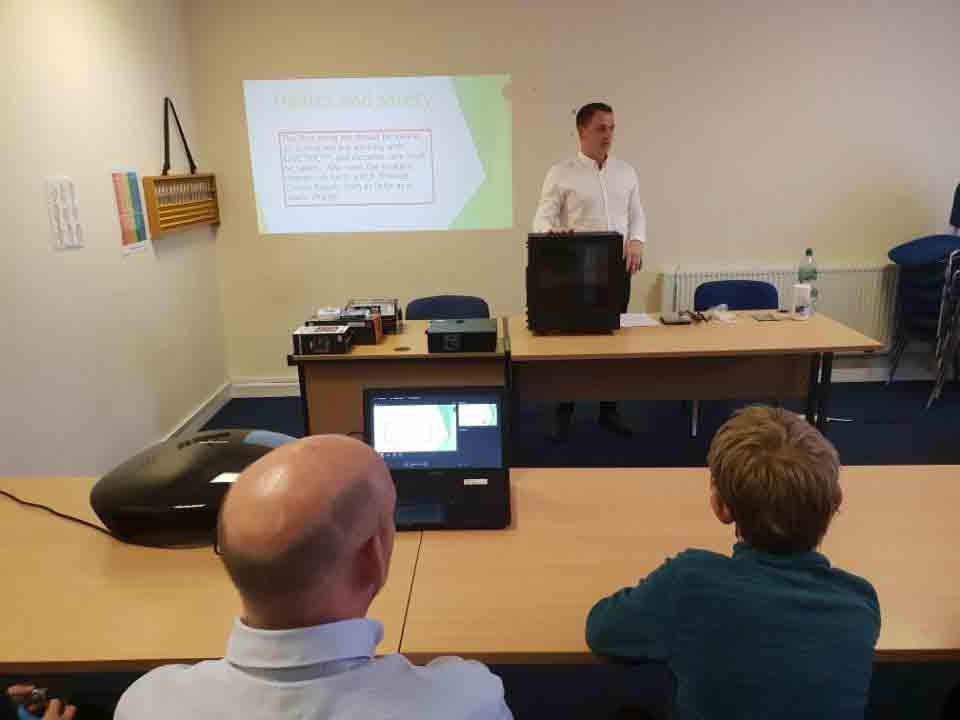
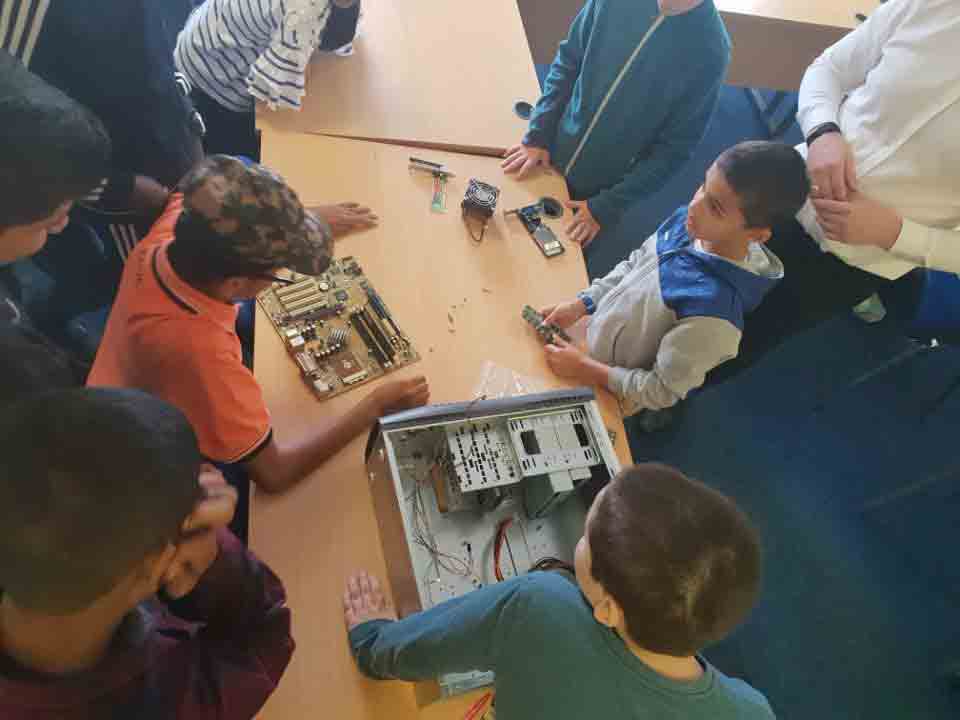
Introduction to Health and Safety, Components
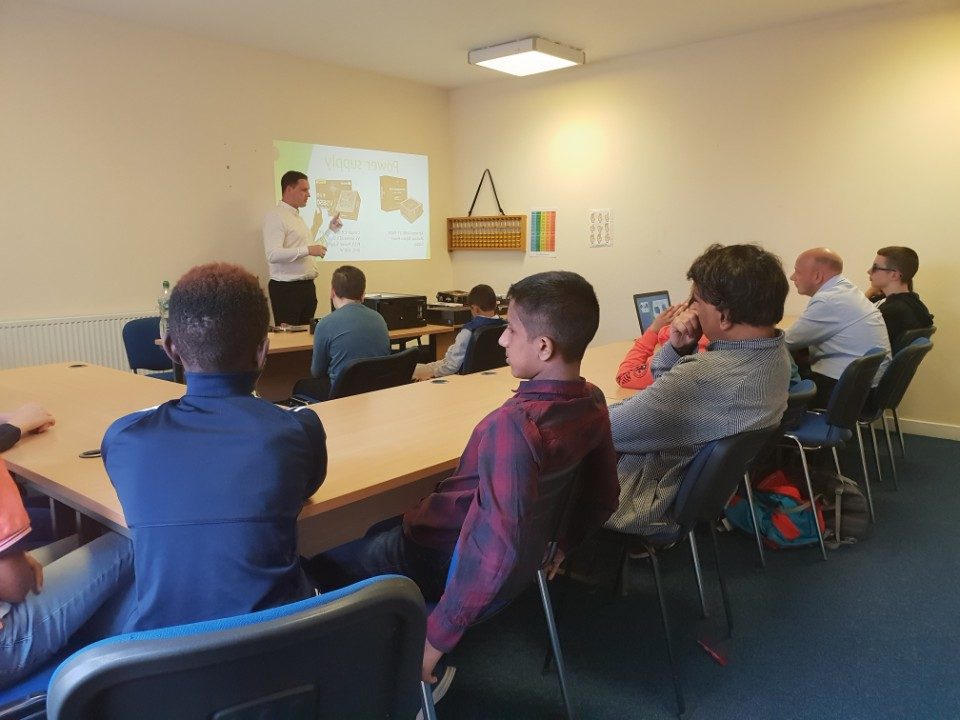
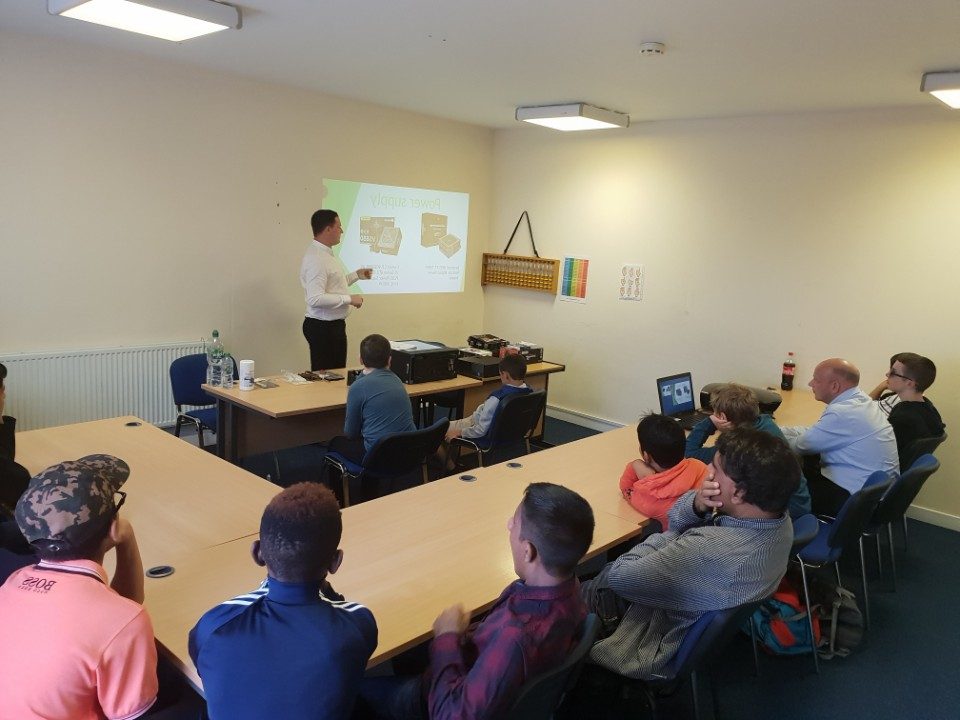
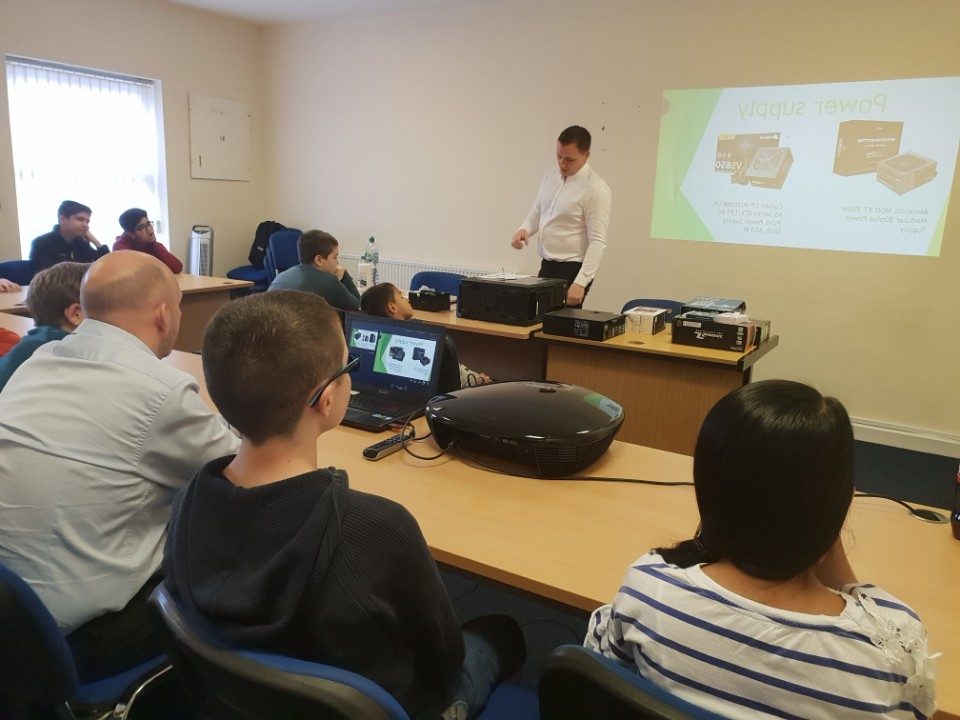
When building a PC and installing the various components we really wanted to stress certain things when it comes to personal safety and handling expensive, sometimes fragile, equipment so we let the students know all about things like grounding to prevent static electricity damage to themselves and the components. With Health and Safety covered we introduced the kids to all of the various components involved in building up a PC with a brief overview of each part and their operation.
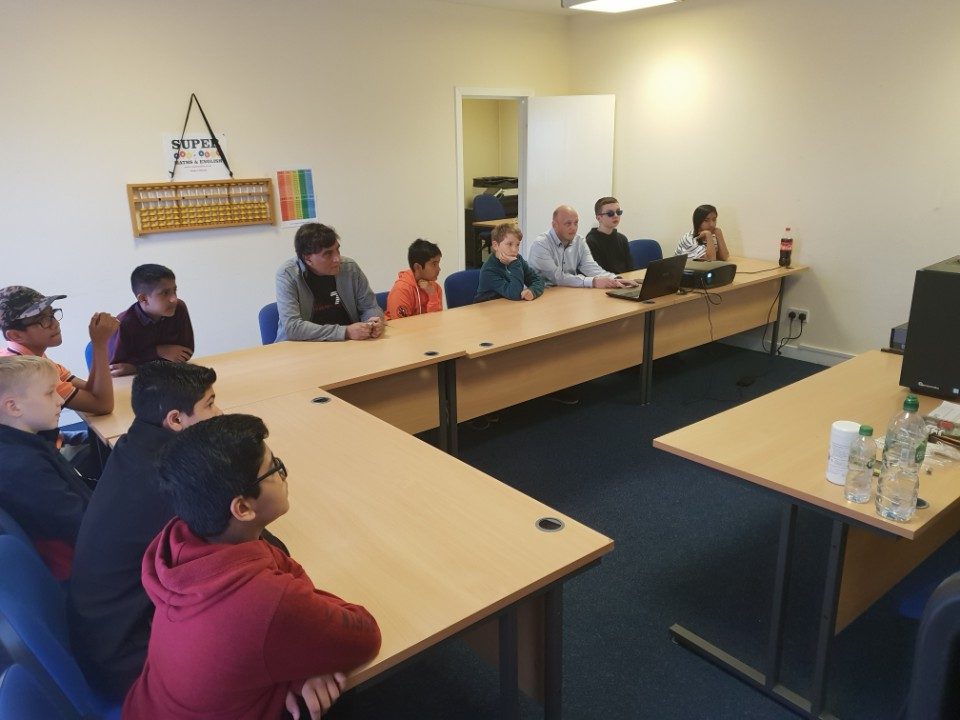
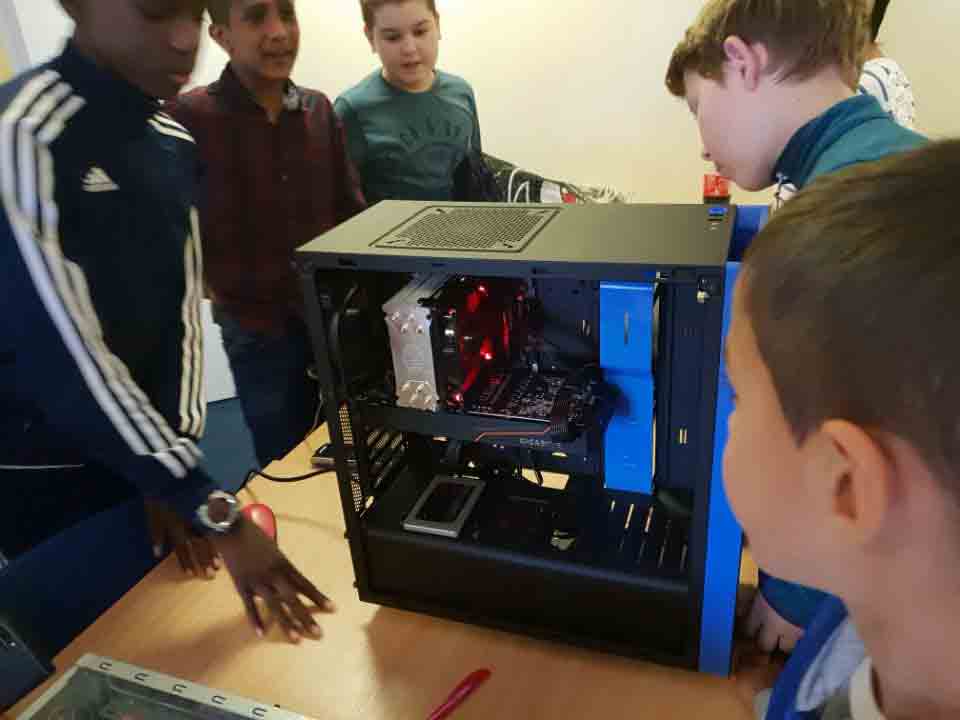
Installation
With the introduction out of the way, we got the students involved in building the PC with hands-on demos of how to install each part. We went over the correct order of installation, tools that might be required and the proper technique for handling and installing parts that might require any extra care such as the CPU socket.
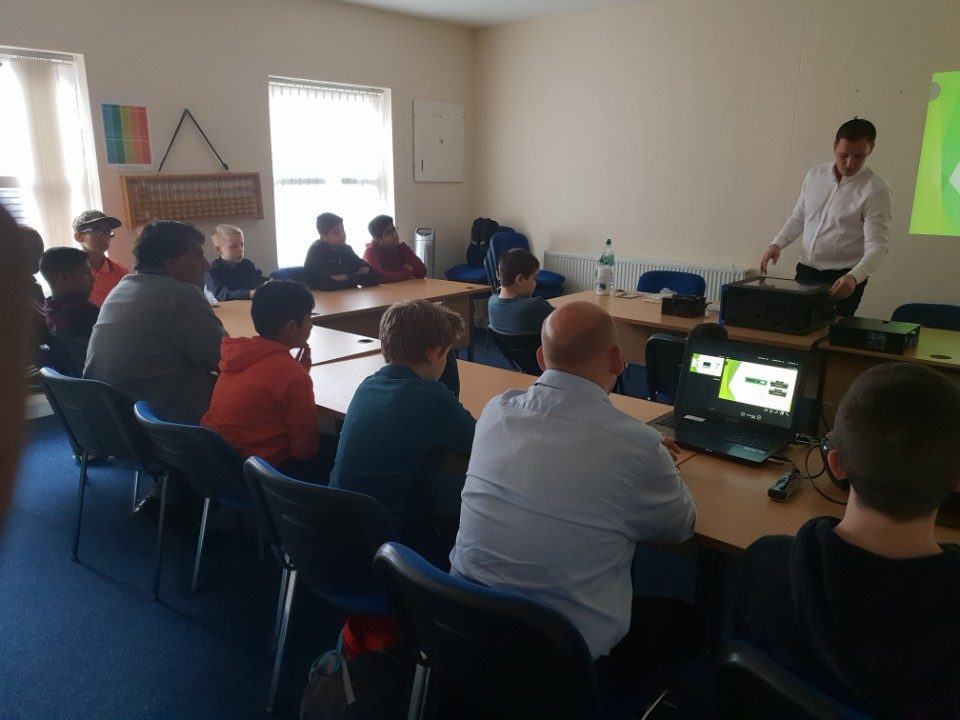
Cable Management & Cooling
Now that the parts were installed we went over perhaps the most underrated part of PC building and maintenance – Cable Management. If the inside of the case is messy you can end up badly affecting the internal cooling of the PC which can lead to unnecessary and even dangerous overheating of parts.
Of course, the main reason you want to manage cables is for aesthetics as the last thing you want is a messy PC case. The horror. If you see a single cable you may as well throw the entire thing in the bin if you ask me (only slightly joking).
Turning the PC on, Installing OS and Getting Started
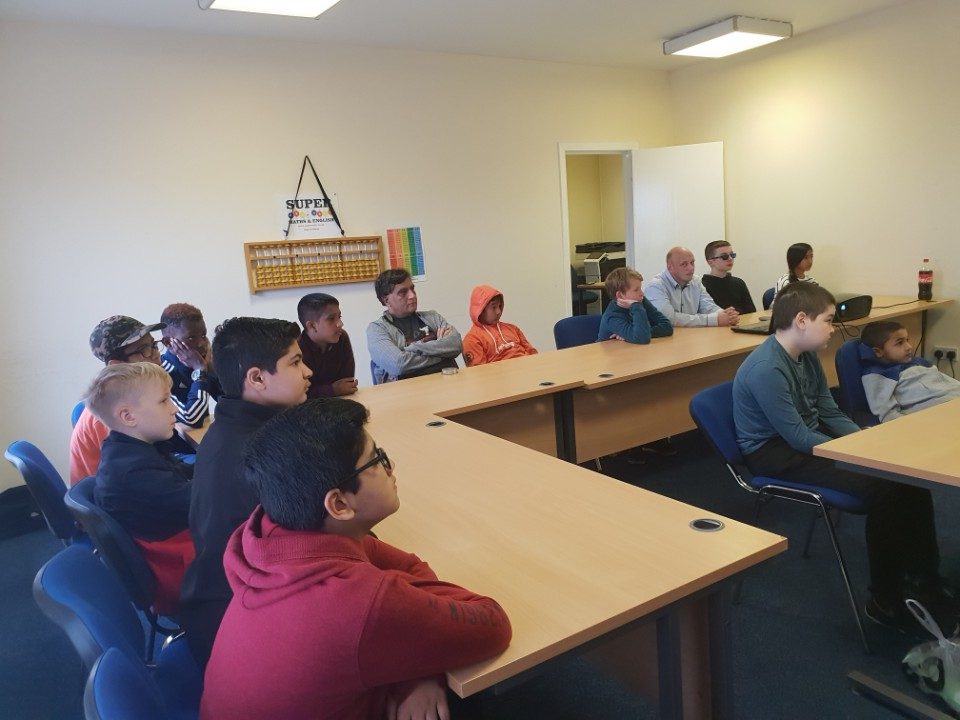
With students case looking fit and proper, all components installed and everything ready to go we moved into the final component installation check with a quiz to test everything the students had learned up until now. Next, we got to the most terrifying part of building a PC.
Turning it on for the first time.
It’s not unusual to get some errors here as quite often you can simply forget a cable or maybe you forgot to actually plug it into the wall. We wanted the students to be aware of this as moments of panic can be solved with a cool head and a quick check.
With the machine finally on we showed the kids how to boot into BIOS and configure the various settings you might need to adjust when first booting up a machine. This could be as simple as telling the computer which hard drive to use, to something like overclocking but that topic is beyond the scope of this course.

Once we showed the kids the bios and pointed the computer to the correct hard drive it was time to install the operating system. In our case, we used Windows 10 and went over the various ways to install from using the hard drive to using a flash drive.
Now that we had the OS properly installed we gave a brief overview of how to install drivers and set up some of the basic software needed for a gaming PC. With gaming library programs like Steam, Origin and Uplay all installed we finally had a proper gaming PC
The best part of owning a PC
The final part of the lesson was an overview of arguably the best thing about having a proper custom gaming PC:-
Upgrading your PC
Unlike a gaming console you can, over time, replace out of date parts with the most up to date components to ensure the best possible performance in your games. This can save you money and ensure you can play all of your games for as long as you want. For example, you can play games on a PC from the 90’s which isn’t something you will be able to do as easily, or cheaply, on an XBOX or Playstation.
Our overview gave the students advice on what components to upgrade, how to upgrade them and when to upgrade.
Conclusion
That brings us to the end of the class. Thank you for reading and if you have any questions about this course please feel free to get in touch.
If you would like more information about this course please click HERE.